|
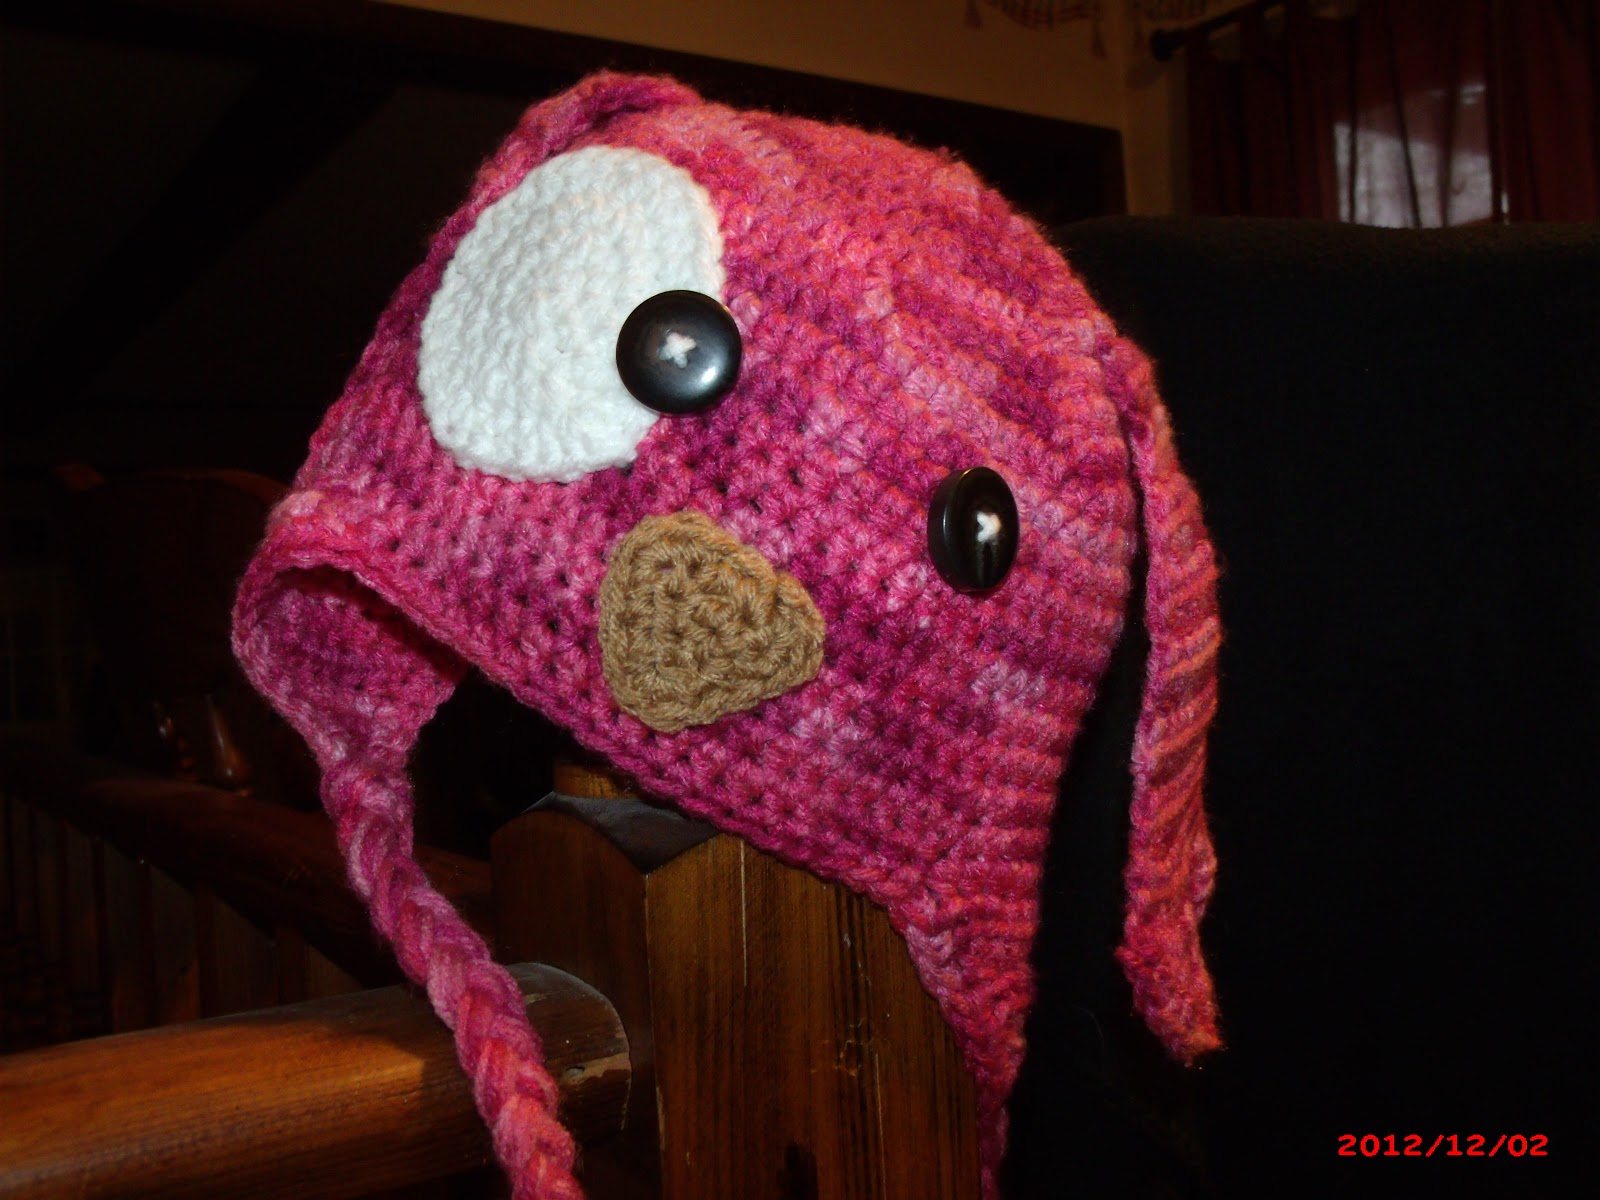
| Brimmed Beanie Front View |
 |
| Brimmed Beanie Side View |
|
This stylish brimmed beanie looks cute with a large flower or nothing at all. This pattern is untested so if anyone tries it please let me know how it turns out via email at stylishknots@gmail.com and I will make changes as needed! You can download the .pdf file of the pattern
HERE
An Original Design by Marsha at Stylish Knots
Materials
Worst Weighted Yarn
H hook
Glossary
ch chain
sl slip stitch
sc single crochet
3dc shell 3 double crochet shell
st stitch
Please note that I have wrote these instructions to fit a 5 to 9 year old, I will add a note on parts
you can change to make this hat smaller or larger as to meet your needs.
Pattern
Round 1: Make a magic ring. Chain one and then work 6 sc inside the chain. Pull the magic
ring shut. Join with a sl in the first sc not the ch stitch
Round 2: ch1, 2 sc in each stitch around
Round 3: ch1, 1sc in the next stitch *2sc in the next sc, 1sc in next sc repeat from * around join
with sl in the first sc of the round
Round 4: ch1, 1 sc in the next 2 sc, *2sc in the next sc, 1sc in the next 2 sc repeat from *
around to join with sl in the first sc of the round
Round 5: ch1, 1 sc in the next 3 sc, * 2 sc in the next sc, 1sc in the next 3 sc repeat from *
around to join with a sl in the first sc of the round
Round 6: ch1, 1 sc in the next 4 sc * 2 sc in the next sc, 1 sc in the next 4 sc repeat from *
around to join with a sl in the first sc of the round
Round 7: ch 1, 1 sc in the next 5sc *2 sc in the next sc, 1 sc in the next 5 sc repeat from *
around to join with a sl in the first sc of the round.
Round 8: ch1, 1 sc in the next 6 sc * 2 sc in the next sc, 1 sc in the next 6 sc repeat from *
around to join with a sl in the first sc of the round
Round 9: ch1, 1 sc in the next 7 sc * 2 sc in the next sc, 1 sc in the next 7 sc repeat from *
around to join with a sl in the first sc of the round.
Round 10: ch1, 1 sc in the next 8 sc * 2 sc in the next sc, 1 sc in the next 8 sc repeat from *
around to join with a sl in the sc of the round.
Round 11: ch1, 1 sc in the next 9 sc* 2 sc in the next sc, 1 sc in the next 9 sc repeat from *
around to join with a sl in the sc of the round
Round 12: ch1, 1 sc in the next 10 sc * 2 sc in the next sc, 1 sc in the next 10 sc repeat from *
around to join with a sl in the sc of the round
To make hat larger insert more rounds adding 6 stitches to each round until the desired size
before continuing to round 13
Round 13: ch1, 1 sc each sc around to join with a sl in the sc of the round
Rounds 14 and 15 repeat Round 13.
Round 16: ch1, 1sc in next st, *skip next st, 3 double shell in next st, skip next st, 1 sc in next
st repeat from * around. Join last stitch with sl in first st
Round 17: ch2 (counts as first stitch) 2dc in the same st, *skip next st, 1 sc in next st, skip next
st, 3 double shell in next st repeat from * around. Join last stitch with sl in top of ch2
Round 18 repeat round 16
Round 19 repeat round 17
Round 20 repeat round 16
Round 21 repeat round 17
Round 22 repeat round 16
Round 23 repeat round 17
Round 24 repeat round 16
Round 25 repeat round 17
(For larger hat continue repeating rounds 16 and 17 till hat is long enough to cover ears)
Do not finish off before beginning brim
Brim
Please make note if you are making a larger hat that you will need to start the brim ¼ of the
way around the hat working the pattern till you reach ¾ of the way before turning to do the
second row of the brim.
ch1, 1sc in next stitch 10 times. Place marker, 1sc in next st, *skip next st, 3double shell in
next st, skip next st, 1sc in next st repeat from * 9 more times.
Ch2, turn, 2 dc in same st, skip next st, 1sc in next st, *skip next st, 3double shell in next st,
skip next st, 1sc in next st repeat from * till you reach your marker.
Ch1, turn, 1sc in same st, *skip next st, 3 double shell in next st, skip next st, 1sc in next st,
repeat from * till you reach the end of previous row
Ch2, turn, 2 dc in same st, skip next st, 1sc in next st * skip next st, 3 double shell in next st,
skip next st, 1sc in next st repeat from * till you reach end of previous row
ch1, turn, 1sc in same st, *skip next st, 3 double shell in next st, skip next st, 1 sc in next st,
repeat from * till you reach the end of the previous row
Ch2, turn, 2dc in same st, skip next st, 1 sch in next st * skip next st, 3 double shell in next st,
skip next st, 1 sc in next st repeat from * till you reach the end of the previous row. Finish off.
Starting at your marker 1 sc in each st around till you reach the first sc, sl in first sc. Finish off
Flip brim up and sow sides into place. Add any embellishments you would like